 GENUINE BRITISH MADE FABRIC | Worldwide Shipping |
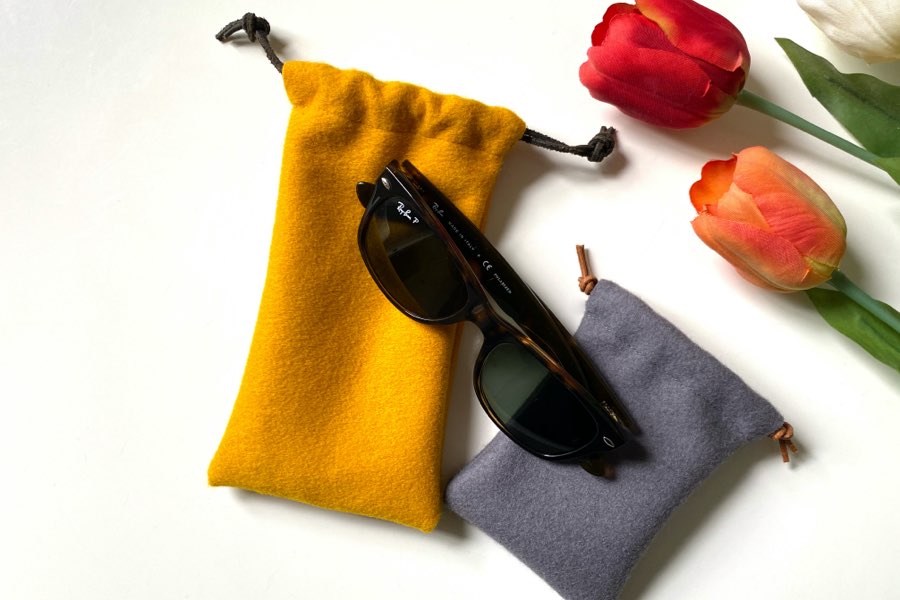
 A drawstring bag is always a highly useful thing to have and super easy to make. Baize is a great fabric to make them with too, thanks to its durability and softness.
Why Use Baize for a Drawstring Bag?
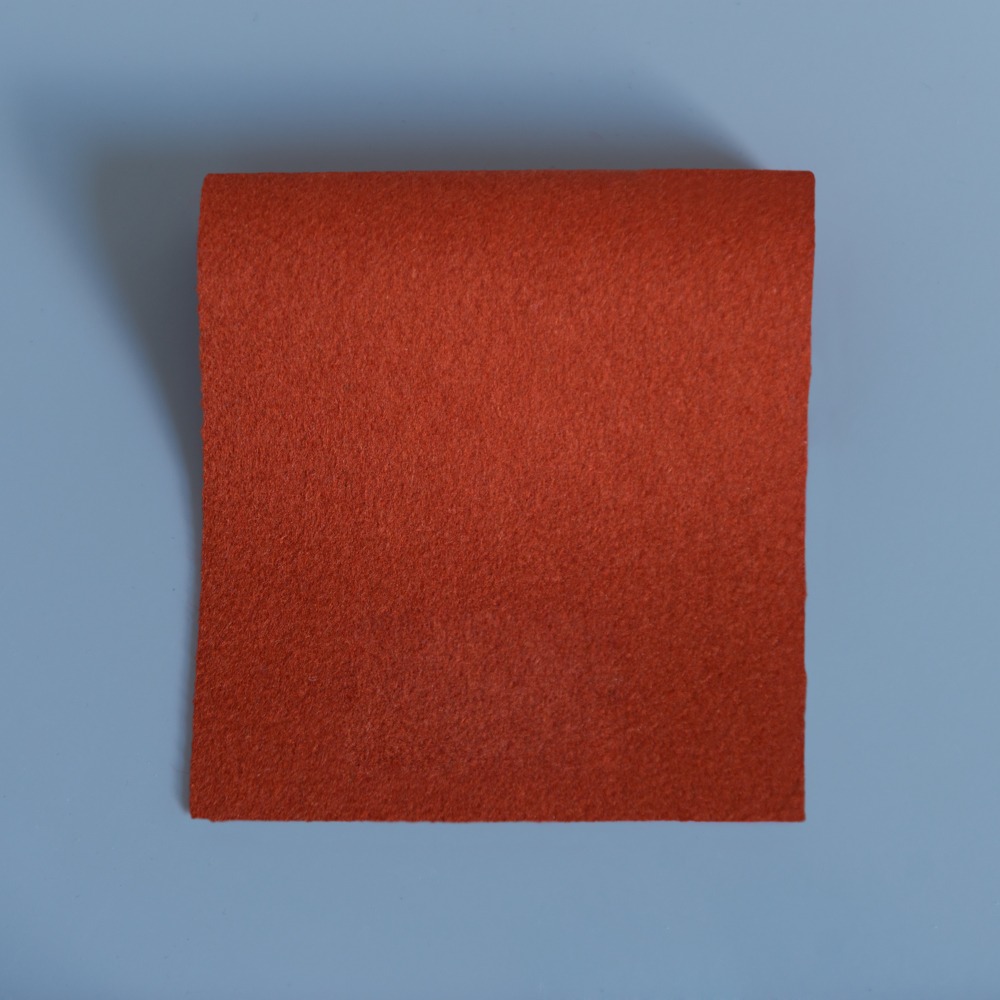
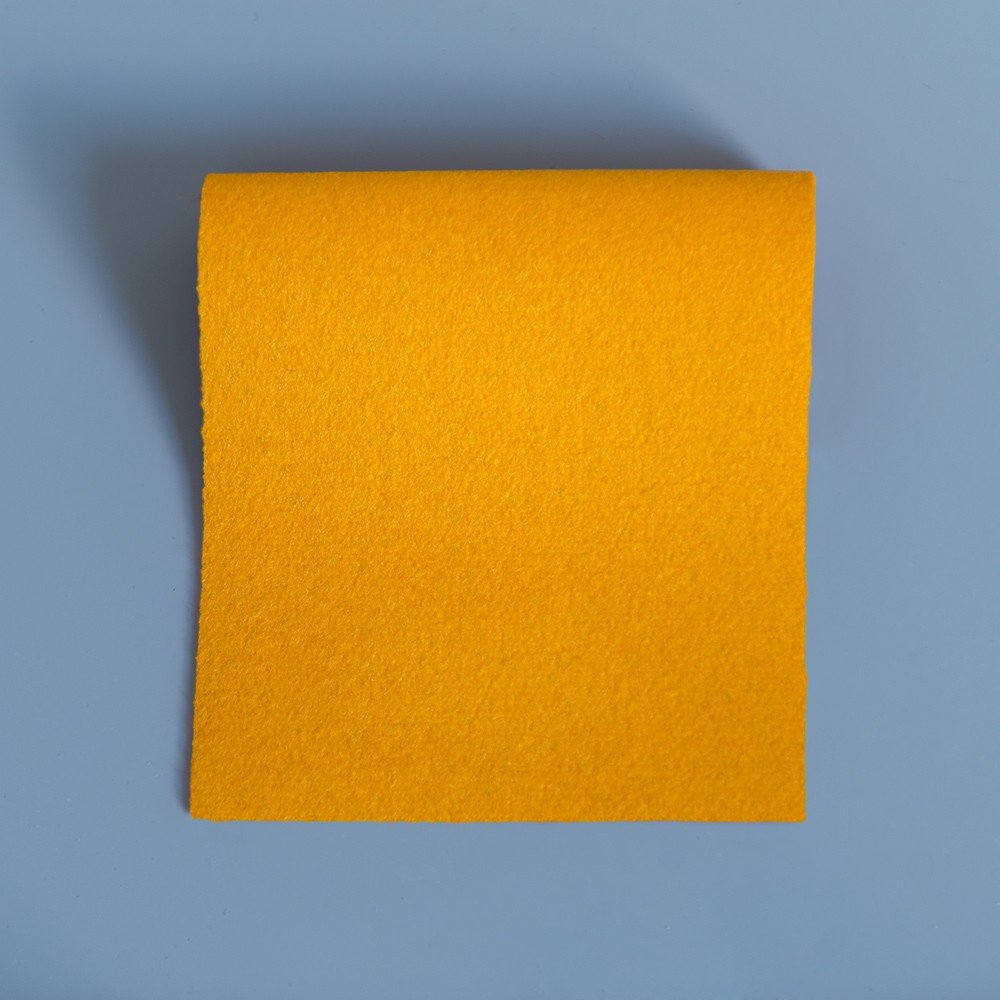
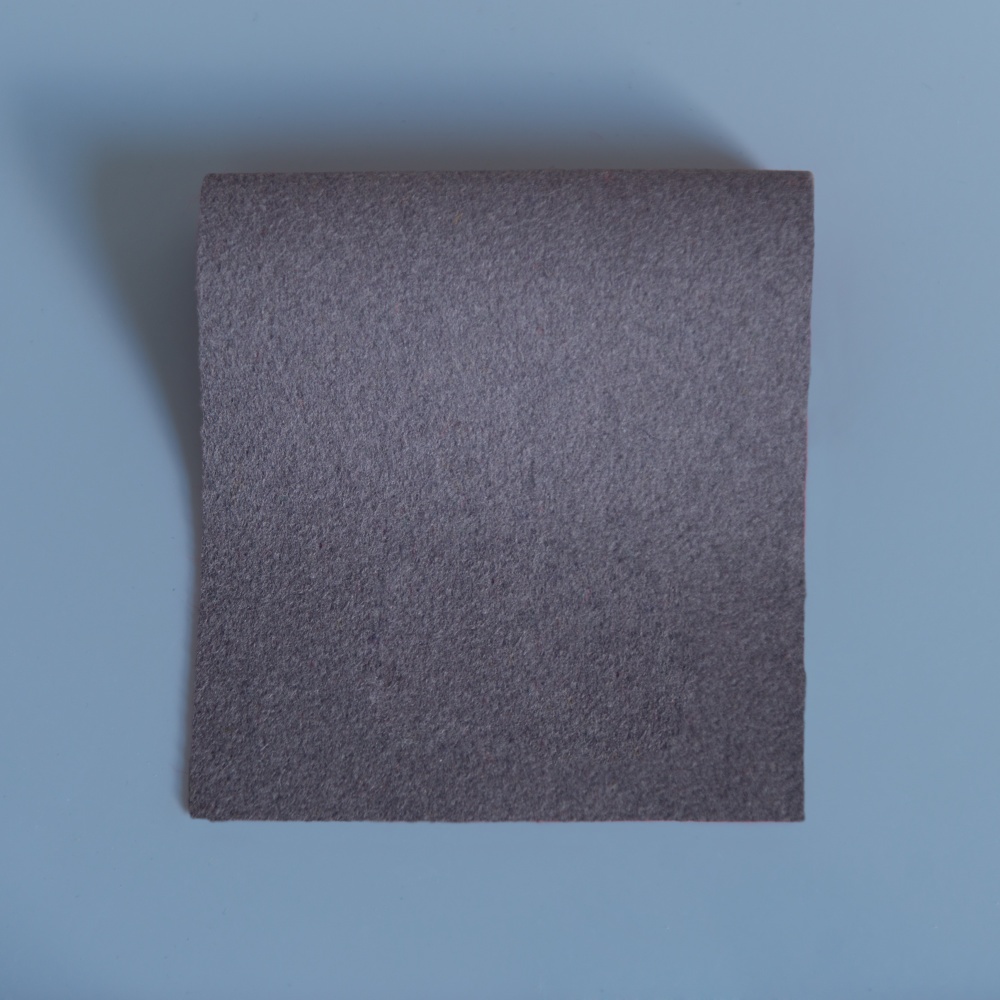
There are two good reasons to use baize or any of the other fabrics that we stock. Firstly the fabrics we stock are all wool based, varying in mix from 95% to 100% wool content. Wool when it is woven into a fabric, makes it highly durable and able to stand alot of wear and tear. This means a bag like this will last much longer, especially where the enclosure is.
Secondly, baize – especially a 100% Merino Baize – is super soft. This means anything precious you store in it won’t get scratched or marred.
Bag Pattern
This project is very easy and can be made any size you want. Our cut to size fabrics will allow you to buy just the fabric you need for the project. If you’ve got a small bag planned, then maybe our offcuts and remnants would be enough.
Step 1 – Measuring Out Your Drawstring Bag
Start by measuring out a rectangle of baize over double the length of the finished bag and slighltly wider. In the pattern below the finished length will be 135mm – big enough to use as a glasses case.
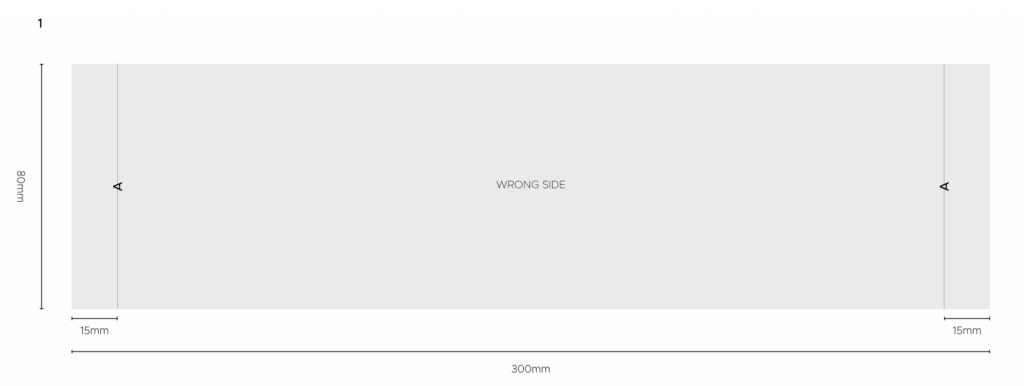
Using the pattern above, if using a faced baize, make sure the wrong side is up. Read our handy guide on determining the faced side of baize. You then want to fold the two shortest sides in along line A and pin in place. These will create the two pockets that the drawstring will be fed into.
Step 2 – Sewing the Flaps
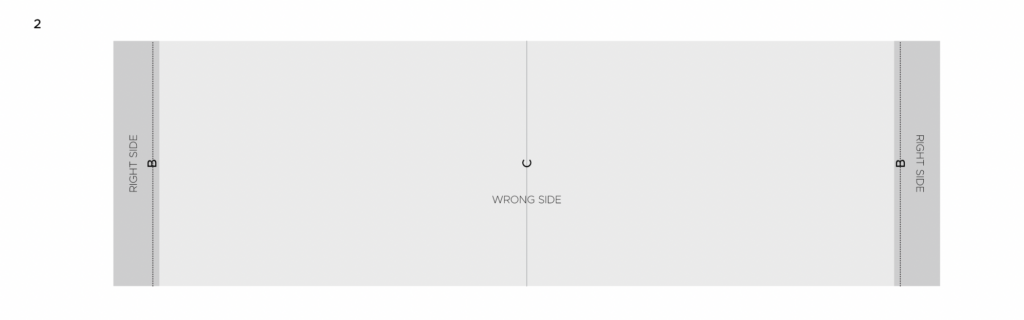
Next you’ll want to sew down the flaps using a sewing machine, approximately 3mm from the edges as indicated by the lines marked B. Secure the loose thread ends. Then fold the bag along line C, keeping the wrong side out and the two flaps together. Pin the sides to hold in place.
Step 3 – Sewing the Sides
Starting at the bottom edge of the bag sew along the lines marked D, which should be roughly 2-3mm from the edge of the fabric. Stop short of the flaps sewn in step 2 above. It’s important to keep the ends of the flaps open for the drawstring.

Step 4 – Adding the Drawstring
With the sides sewn, turn the whole bag inside out, so that the right side of the fabric is now on the outside. The next step is a little fiddly.
Using a two pieces of leather cord or string approximately 1.5 times the width of your bag, start by threading one piece into one flap around and back through the other flap.
Repeat this process from the other side. As detailed in the diagram below.
Tip: Use a chopstick to help push the cord through the flaps.

Once the drawstrings are thread through, ensure all the ends are of equal length. Adjust if not. Then simply tie a simple knot both sides using the loose ends.
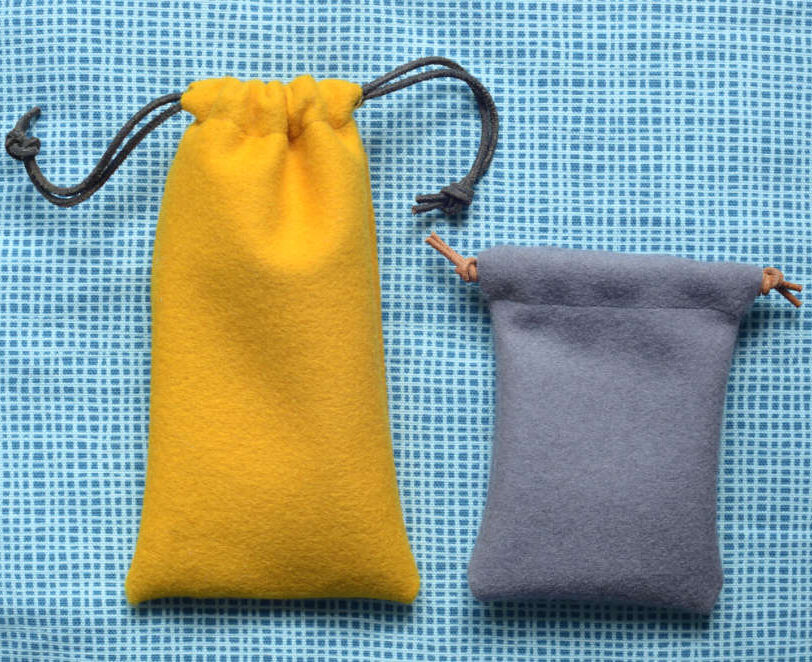
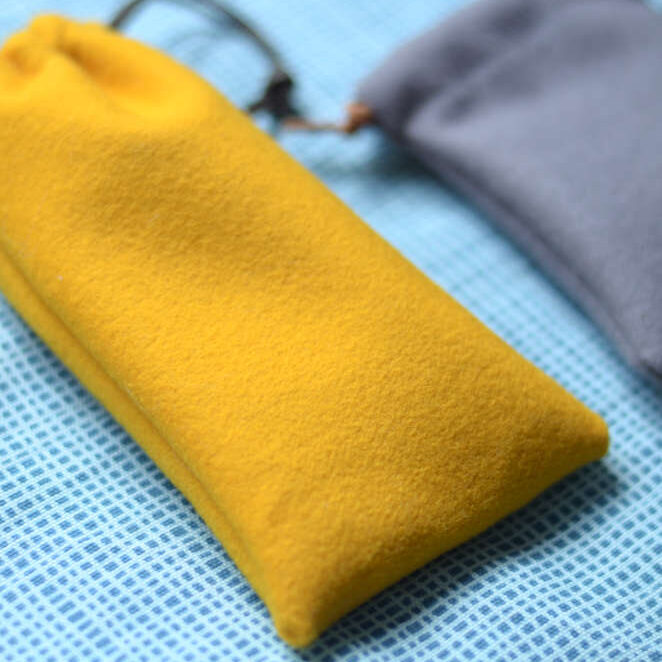
Your bag is now complete!
Did You Like This Drawstring Bag Project Idea?
What will you use drawstring bag for? A glasses or sunglasses case, a bag for mala, prayer beads or even you headphones. Drawstring bags are also great for makeup and feminine products too.
If you liked this project idea, then please feel free to let us know in the comments below. If you have any ideas for other projects we could make with baize, we’d love to hear about those too.

